프로젝트) Mustache로 springboot html 작성
May 01, 2020
갑자기 코로나 사태가 잠잠해지면서 그 동안 못했던 것들을 몰아서 하느라 너무 정신이 없다
rinux, docker, openstack, html, react, spring, aws, gatsby 등 블로그에 쓸 것들은 많이 쌓여있는데 언제 다 정리해서 올리지…
일단 오늘은 현재 진행중인 프로젝트의 Html 프로토타입을 준비해봤다.
프로젝트에 대한 자세한 설명은 다른곳에 포스팅할 예정이다
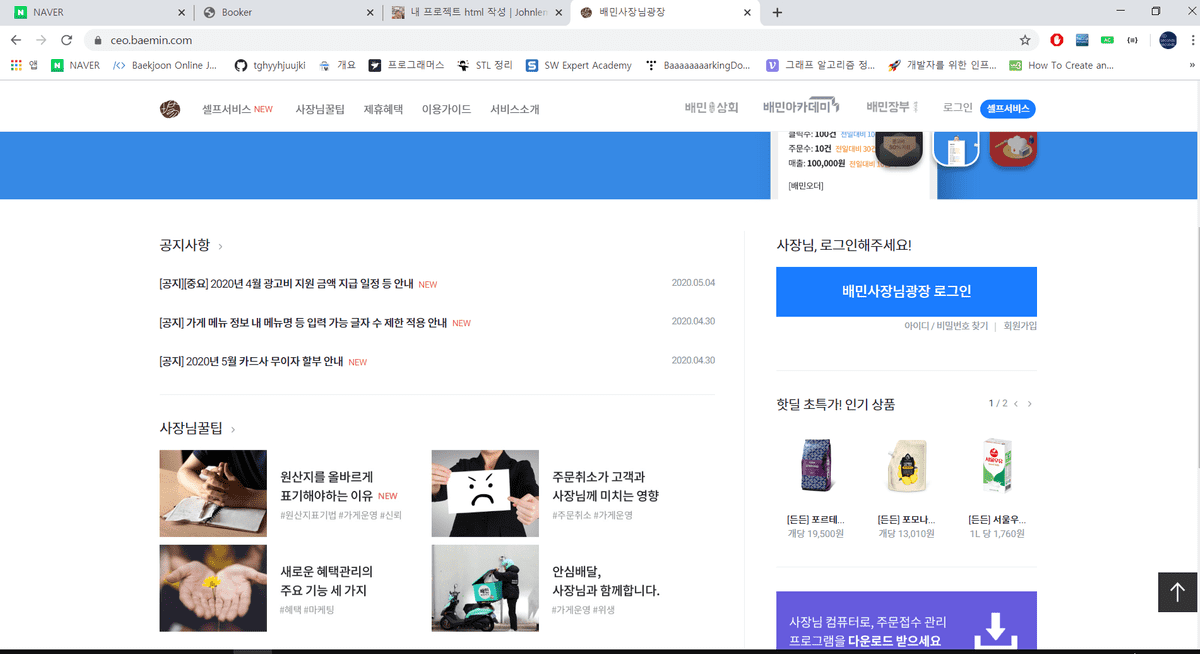
프로토타입은 Html연습할 겸 배달의민족 사장님사이트 디자인을 카피하기로했다

일단 Springboot에서 mustache로 구성을 했다
mustache를 사용하려면 다음과 같이 설정해준다.
/springboot/build.gradle 파일에서
compile 'org.springframework.boot:spring-boot-starter-mustache'refresh 해서 적용시키고, header와 footer를 만들어준다
/springboot/src/main/resources/templates/layout/header.mustache
<!DOCTYPE html>
<html>
<head>
	<title>Booker</title>
    <link rel="stylesheet" href="/css/reset.css">
    <link rel="stylesheet" href="/css/style.css">
	<meta http-equip="Content-Type" content="text/html; charset=UTF-8" />
	<link rel="stylesheet" href="https://stackpath.bootstrapcdn.com/bootstrap/4.4.1/css/bootstrap.min.css">
</head>
<body>
<!-- header 디자인 넣으면 된다 -->
여기서 주의할 것은 css파일은 resource디렉토리 밑에 놔야한다. resource가 경로의 루트가 되기 때문이다.
/springboot/src/main/resources/templates/layout/footer.mustache
	<!-- footer 디자인 넣으면 된다 -->
	<script src="https://code.jquery.com/jquery-3.4.1.min.js"></script>
	<script src="https://stackpath.bootstrapcdn.com/bootstrap/4.4.1/js/bootstrap.min.js"></script>
	<script src="/js/app/index.js"></script>
</body>
</html>
footer에는 버튼 등의 활성화 기능을 사용할 index파일, bootstrap, jquery를 연결해준다.
/springboot/src/main/resources/templates/index.mustache
{{>layout/header}}

<!-- 여기에 바디 내용 쓰면 된다-->

{{>layout/footer}}
header와 footer를 연결해줄 수 있다. 쓰면 쓸수록 mustache는 엄청 편리한거 같다.
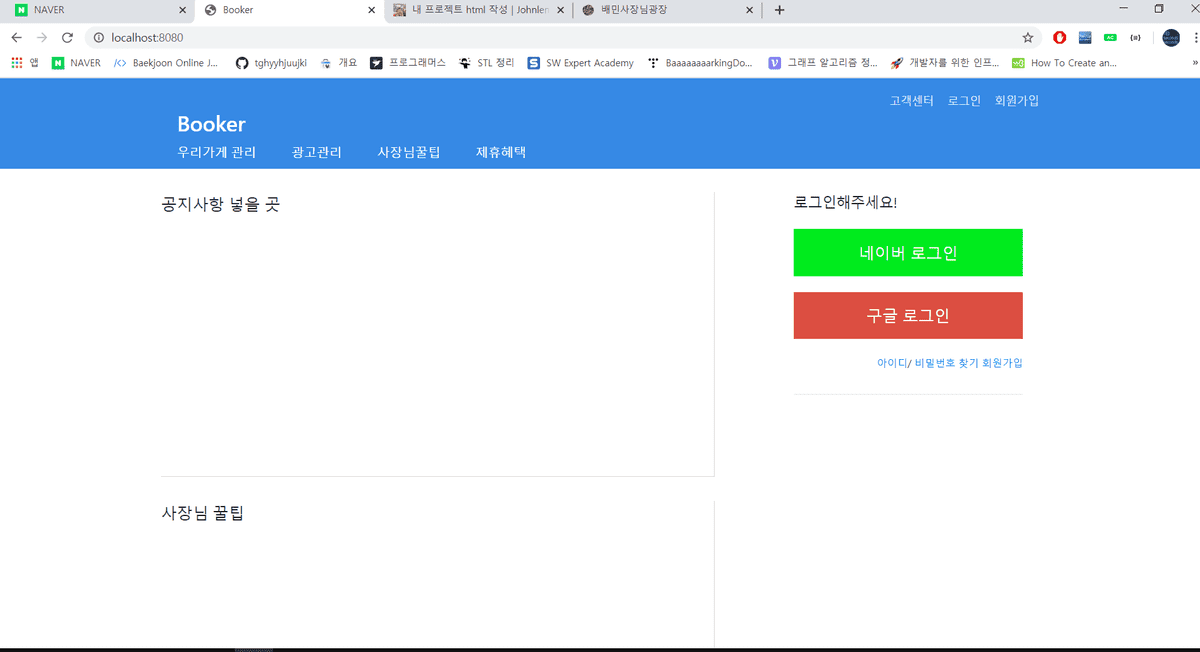
이제 로컬에서 확인해보면,

내용이 없어 많이 심플하다
이제 새로운 페이지를 작성할 때마다 header와 footer는 생략해도 된다.


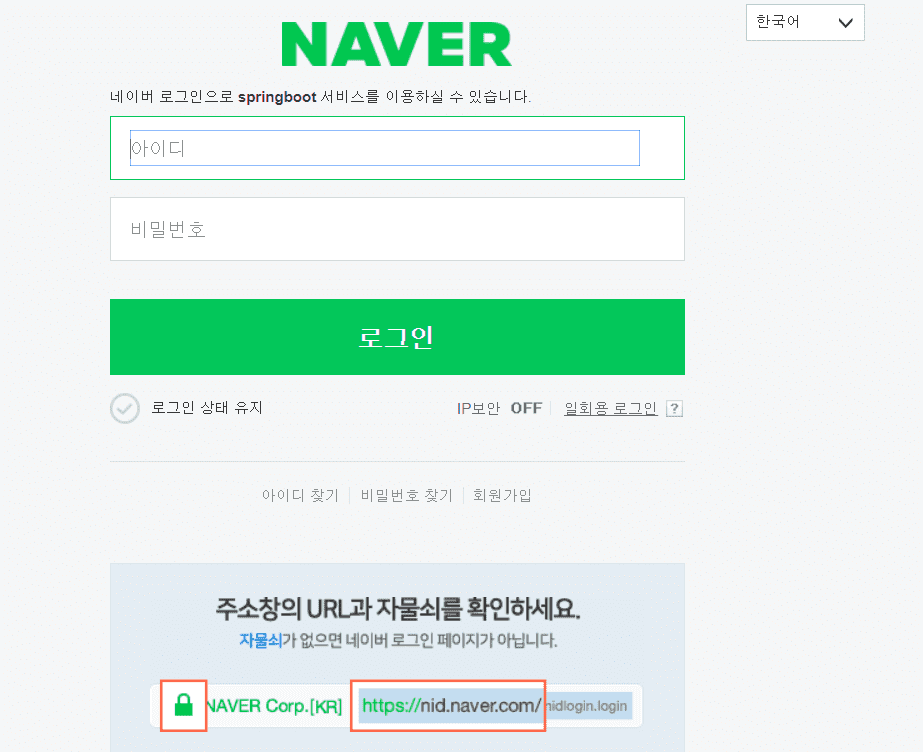
네이버랑 구글은 구글 클라우드서비스를 이용하여 Oauth2를 사용해 연동해놓긴 했는데 다음에 포스팅하겠다.