Spring boot) Swagger로 개발자 API 문서 생성하기 / 커스텀하기
January 06, 2021
개발환경
IntelliJ
Spring boot 2.4.1
Gradle
‘springfox-swagger2’, version: ‘3.0.0’
‘springfox-swagger-ui’, version: ‘2.9.2’
임을 유의하자. 이번에 버전 문제로 에러가 많이 생겼다.
개발함에 있어 API 명세서는 중요하다. Swagger는 이러한 API 문서작성을 자동화 하여 보다 편리하게 만들어준다.
가장 많이 사용하는 2.9.2v으로 설치했다. 참고로 지난 포스트부터 Gradle로 변경했다.
compile group: 'io.springfox', name: 'springfox-swagger2', version: '2.9.2'
compile group: 'io.springfox', name: 'springfox-swagger-ui', version: '2.9.2'
SwaggerConfig라는 클래스를 만들어줬다. Configuration 용도로 사용할 클래스이므로 @Configuration, 그리고 Swagger 용도로 사용할 거기 때문에 @EnableSwagger2 애너테이션을 붙였다. 또한 Docker으로 반환하여 문서로 출력되도록했다.
@Configuration
@EnableSwagger2
public class SwaggerConfig {

    @Bean
    public Docket api(){
        return new Docket(DocumentationType.SWAGGER_2);
    }
}
하지만 에러가 떴다.
Correct the classpath of your application so that it contains a single, compatible version of org.springframework.plugin.core.PluginRegistry
이런 저런 짓을 하다가 찾은 것은, Swagger2는 Spring boot 2.2 이상 버전에서 Swagger 2.x 버전과 호환이 되지 않는다는 것이었다. 그래서 아래와 같이 바꿔줬다.
compile group: 'io.springfox', name: 'springfox-swagger2', version: '3.0.0'
compile group: 'io.springfox', name: 'springfox-swagger-ui', version: '3.0.0'
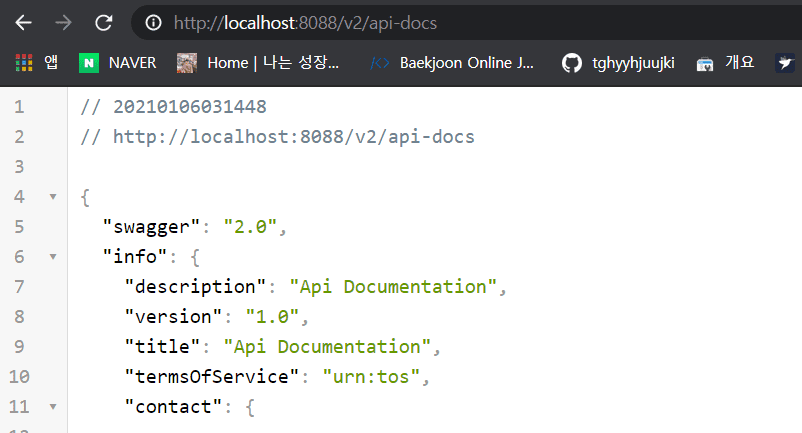
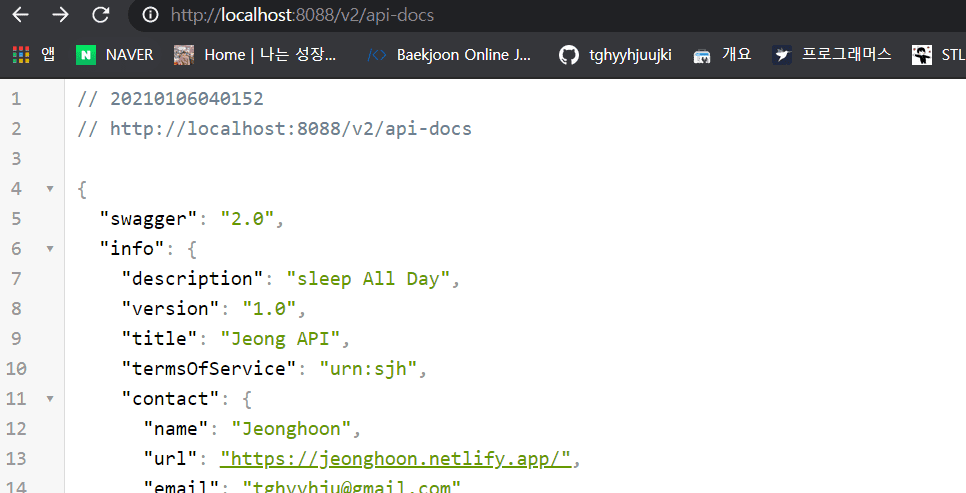
다시 실행하고 http://localhost:8088/v2/api-docs 에 접속해보면 Swagger문서를 Json형식으로 볼 수 있다.
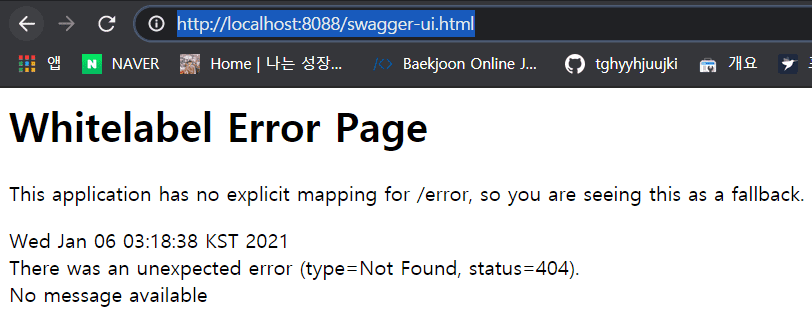
하지만 http://localhost:8088/swagger-ui.html 에 들어가서는 Swagger-ui는 보이지 않았다.
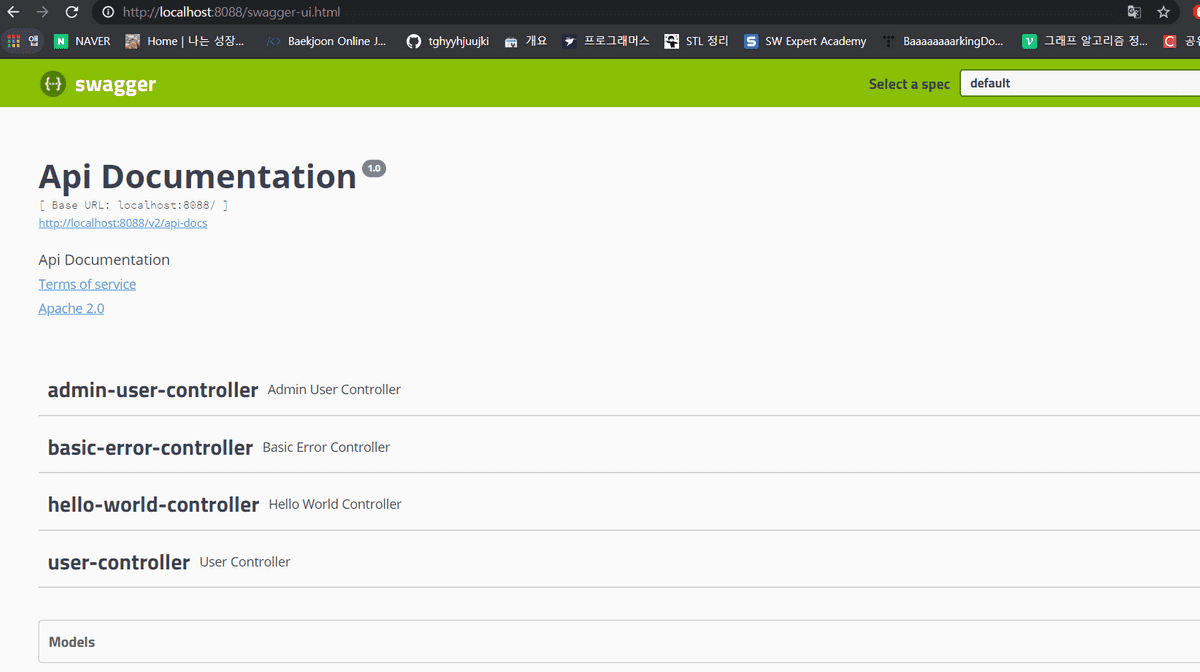
또 이것 저것 해보다가 Swagger-ui만 2.9.2 버전으로 돌렸더니 됐다. 아래와 같은 최종 버전이 있다.
compile group: 'io.springfox', name: 'springfox-swagger2', version: '3.0.0'
compile group: 'io.springfox', name: 'springfox-swagger-ui', version: '2.9.2'
클릭해보면, 우리가 만들었던 API들을 확인할 수 있다!
커스텀하기
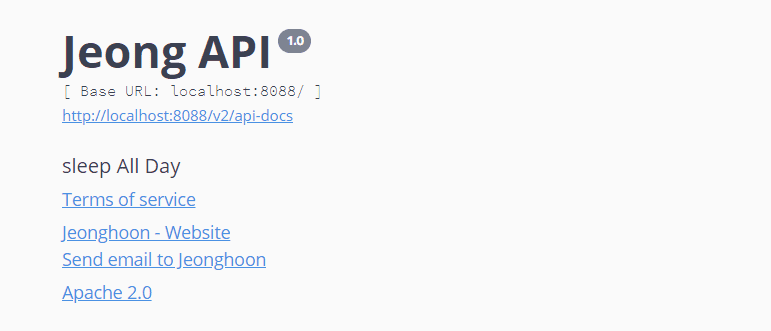
이제 간단하게 상수를 만들어서 문서의 기본정보를 직접 만들어보자. 위의 SwaggerConfig 클래스를 아래와 같이 변경했다.
@Configuration
@EnableSwagger2
public class SwaggerConfig {

    private static final Contact DEFAULT_CONTACT = new Contact("Jeonghoon",
            "https://jeonghoon.netlify.app/", "tghyyhju@gmail.com");

    private static final ApiInfo DEFAULT_API_INFO = new ApiInfo("Jeong API",
            "sleep All Day", "1.0", "urn:sjh", DEFAULT_CONTACT,
            "Apache 2.0","http://www.apache.org/licenses/LICENSE-2.0", new ArrayList<>());

    private static final Set<String> DEFAULT_PRODUCES_AND_CONSUMES = new HashSet<>(Arrays
            .asList("application/json", "application/xml"));

    @Bean
    public Docket api(){
        return new Docket(DocumentationType.SWAGGER_2)
                .apiInfo(DEFAULT_API_INFO)
                .produces(DEFAULT_PRODUCES_AND_CONSUMES)
                .consumes(DEFAULT_PRODUCES_AND_CONSUMES);
    }
}
실행해보면 내가 설정한대로 바뀐 것이 보인다!
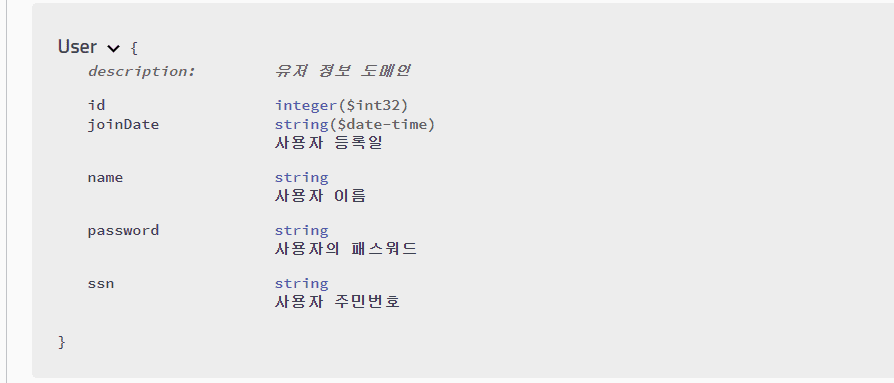
이번에는 도메인을 변경해보자. User 클래스를 아래와 같이 변경했고 Swagger-ui에서 확인해보면 다음과 같이 나온다.
@ApiModel(description = "유저 정보 도메인")
public class User {
    //User(){}
    private Integer id;

    @Size(min=4, message = "Name 4글자 이상 입력 해야함")
    @ApiModelProperty(notes = "사용자 이름")
    private String name;
    @Past
    @ApiModelProperty(notes = "사용자 등록일")
    private Date joinDate;
    @ApiModelProperty(notes = "사용자의 패스워드")
    private String password;
    @ApiModelProperty(notes = "사용자 주민번호")
    private String ssn;
}
